Organization with Style: DIY Wooden Wall Shelves
Having a well-organized space is essential to maintain the harmony and functionality of any environment. When it comes to decorating and organizing your home, wooden wall shelves are an excellent choice. In addition to offering additional storage space, they can also become accent pieces in your decor, adding a touch of style and personality to the space. In this article, we will explore how to create wooden wall shelves through a DIY project, bringing organization with elegance.
Table of Contents
Benefits of Wall Shelves
Before we dive into the DIY wooden wall shelves project, it’s important to understand the benefits they can offer. Wall shelves are a versatile solution to lack of storage space in homes and apartments. They do not take up space on the floor, leaving the area free for other furniture and activities. Additionally, wall shelves can be installed in virtually any room, from the living room to the bathroom, serving as additional areas to display decorative items, books, plants, and more.
DIY Wooden Wall Shelves
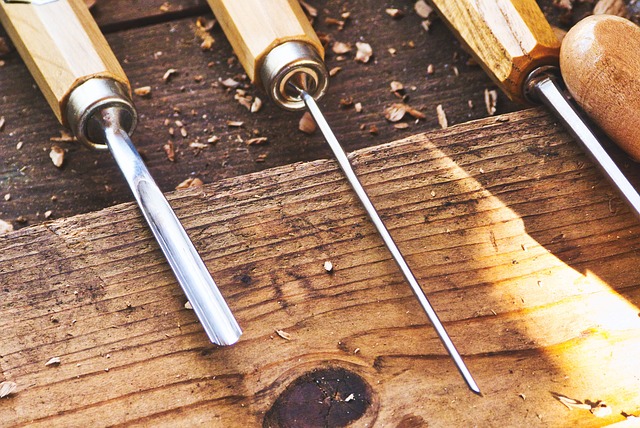
Necessary materials
Before starting the project, it is important to gather the necessary materials. To create your wooden wall shelves, you will need the following items:
- Wooden boards (quantity will depend on the number of shelves you want to create)
- Shelf Brackets
- Screws and dowels
- Level
- Drill
- measuring tape
- pencil
- Sandpapers of different grains
- Varnish or paint (optional)
Step by step
- Measuring and Planning : Start by determining the location where you want to install the shelves. Measure the area to ensure the shelves will fit properly. Consider the height of the shelves and lightly mark the wall with a pencil.
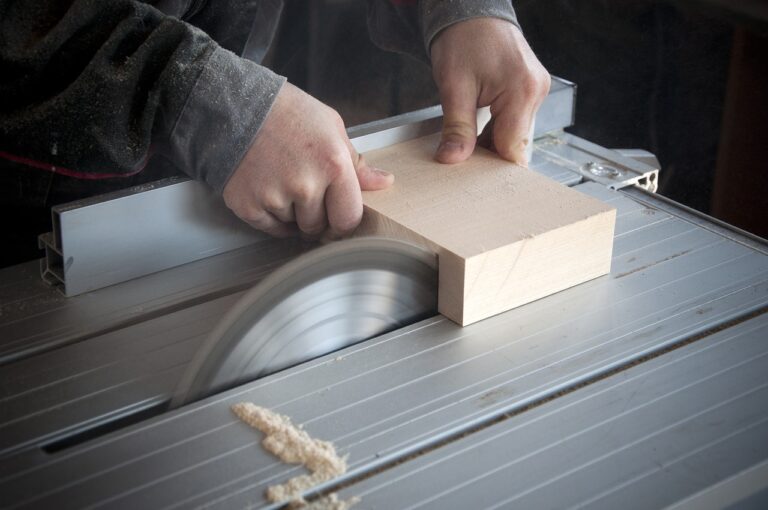
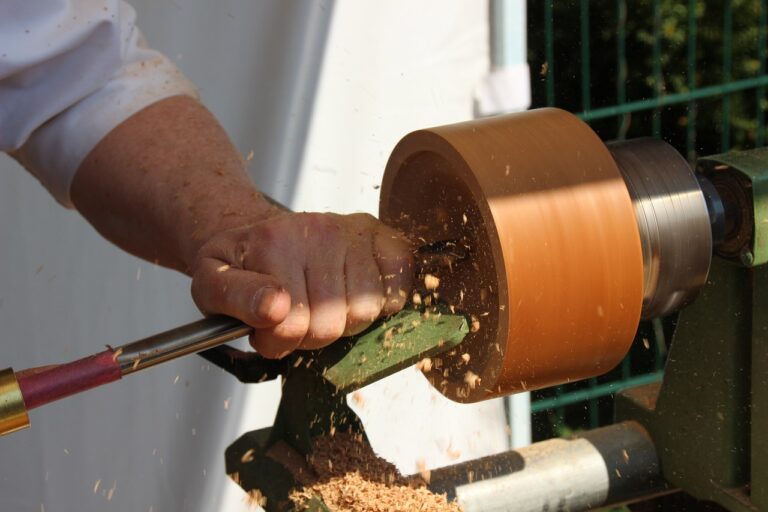
- Preparing the Boards : If necessary, cut the wooden boards to the desired length. Be sure to sand the edges and surface of the boards well to prevent splinters and achieve a smooth finish.
- Installation of Supports : Position the shelf supports on the wall according to the markings made. Use a level to ensure they are straight. Mark the points where the screws will be inserted.
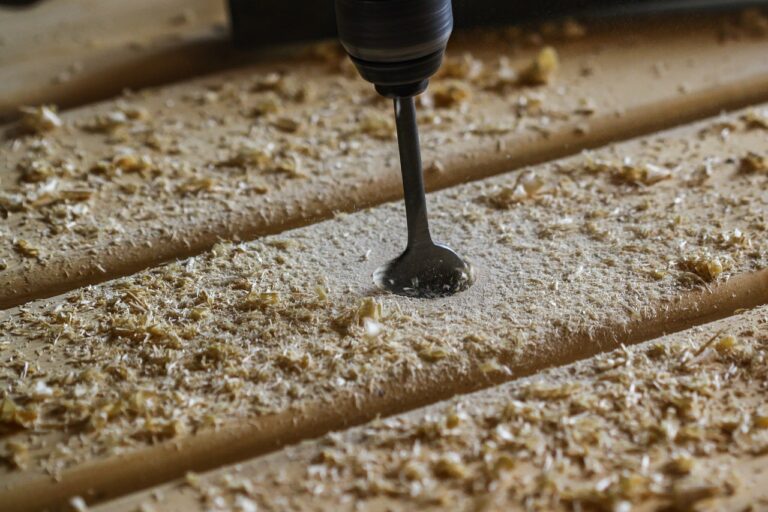
- Drilling and Fixing : With the points marked, drill holes in the wall with a drill. Insert the dowels into the holes, then secure the brackets with screws.
- Placing the Boards : Place the wooden boards on the supports. Make sure they are level and well fitted into the brackets.
- Finish : If desired, apply varnish or paint to the shelves to protect the wood and add an aesthetic touch. Be sure to let it dry completely before placing any objects on the shelves.
Type of Wood for Shelves
Choosing the type of wood for shelves depends on several factors, including intended use, decorative style, budget, and local availability. Here are some popular wood options for shelves:
- Pine: Pine is an economical and widely available option. It is lightweight and easy to work with, making it a popular choice for shelving. However, pine tends to be less resistant to damage and scratches compared to other harder woods.
- Oak: Oak is a hard, durable wood that has a beautiful natural appearance. It can withstand wear and tear and constant use well, making it an excellent choice for shelving in high-traffic areas.
- Mahogany: Mahogany is known for its rich, lustrous color and strength. It’s a premium quality wood and can be more expensive than other options, but it’s an excellent choice for shelves that need a luxurious look.
- Cherry: Cherry is a fine-grained wood that has an attractive reddish color. It is sturdy and hard, making it a good choice for shelves that need to support weight.
- Walnut: Walnut is another high-quality wood with a dark, rich color. It is durable and can add an elegant touch to any space.
- Bamboo: Bamboo is a sustainable choice as it is a fast-growing plant. It is strong and moisture resistant, making it suitable for shelves in bathrooms and kitchens.
- Demolition wood: If you like a rustic style and want to use reused wood, demolition wood can be a great option. It has character and history, but can be harder to find and work with.
Remember, no matter what wood you choose, you can customize the look of your shelves with stains, stains, or finishes to protect the wood and enhance its natural beauty. Additionally, when using shelves to store heavy objects, ensure that the proper brackets and fixings are used to ensure safety and stability.
Be careful not to pierce the water pipe! How to avoid?
Puncturing a water pipe when drilling holes in walls can be a serious and expensive problem to resolve. To avoid this, follow these tips to minimize the risk of damaging pipes:
- Know the location of the pipes: Before doing any drilling, it is essential to know where the water pipes are located in your home. You can obtain plumbing plans for your home or hire a professional pipe detection service to identify the exact position of the pipes.
- Use a wire and pipe finder: A wire and pipe finder is a tool that can help identify the presence of electrical wires and water pipes behind walls. Follow the locator instructions and perform a check before drilling.
- Avoid common areas: Typically, water pipes run vertically through walls near bathrooms, kitchens and laundry areas. Use caution when drilling in these areas or use alternative methods such as installing floating shelves or wall brackets without drilling.
- Drill carefully: When you are sure there are no pipes in the area, use a drill with an appropriate drill bit to avoid drilling too long. Drill slowly and carefully, applying light pressure. Stop periodically to check that you haven’t hit a pipe.
- Use pipe detection technology: In addition to the wire and pipe locator, you can invest in pipe detection devices that use radar or infrared technology to detect the presence of pipes in the wall before drilling.
- Stay informed about the wall structure: Depending on the type of wall, such as drywall, plaster, concrete or masonry, the risks of encountering pipes can vary. Be especially careful when drilling into bathroom and kitchen walls, where pipes are more common.
- Consult a Professional: If you lack experience or are not confident in your detection abilities, it is best to hire a professional, such as a plumber or a contractor, to handle any work that involves drilling into walls near water pipes.
Remember, prevention is always better than cure when it comes to avoiding damage to your water pipes. Even small leaks can cause significant and costly damage to your home, so take appropriate precautions whenever doing any work that involves drilling into walls.
How to Fix Shelves to the Wall Levelly?
Attaching shelves to the wall flush requires a few careful steps. Here is a step-by-step guide to help you do this:
Necessary materials:
- Shelves
- Shelf Brackets (also known as “French Hands”)
- Spirit level
- Tape measure or measuring tape
- Pencil
- Screws and plugs (or metal plugs, depending on the type of wall)
- Drill
- Screwdriver or open-end wrench
Steps:
- Choose the height of the shelves: Determine the desired height of the shelves on the wall. Take into consideration what you plan to store in them and the overall aesthetic of the room. Mark this height with a pencil on the wall.
- Locate the wall studs (or studs): Use a tape measure or tape measure to locate the wall studs. This is important to ensure that the shelves are securely attached. Typically, mullions are spaced every 40 to 60 centimeters on most walls.
- Mark the fixing points: With the uprights identified, mark the points where you will attach the shelf supports. Use the spirit level to ensure these points are level. Make sure the markings line up with the desired height for the shelves.
- Install the shelf brackets: Use the drill to drill pilot holes at the marked points. If you are attaching the brackets to wooden studs, you can screw them directly. If the wall is made of drywall or masonry, insert metal plugs or plugs into the holes before screwing the supports. Make sure the supports are secure and level.
- Attach the shelves: Place the shelves in the brackets and check the leveling again with the spirit level. Adjust as needed. Depending on the type of shelf, there may be nails, screws, or fittings to secure the shelves to the brackets. Follow the manufacturer’s instructions.
- Check stability: After attaching the shelves, make sure they are secure and level. Place light objects in them to check if they can support the weight without any problems.
Remember that the choice of fixing materials, such as screws and anchors, must be suitable for the type of wall you are working on. If you have no experience in carpentry or construction work, consider enlisting the help of a professional to ensure the safety and stability of your wall shelves.
Tips for Customization
The beauty of wooden wall shelves is their ability to adapt to different decor styles. Here are some tips for customizing your shelves and incorporating them into the space:
- Choosing Wood : Choose a wood that harmonizes with the existing decor. Darker woods can add a touch of elegance, while lighter woods bring a lighter, more relaxed feel.
- Decorating with Objects : Use shelves to display objects that reflect your personality, such as books, photographs, art pieces and plants. This adds a personal touch to the decor.
- Item Grouping : When organizing items on shelves, create groups with similar elements for a more organized aesthetic. For example, group books by color or size.
- Lighting : If space allows, consider adding lighting to shelves to further highlight the objects on display.
Conclusion
Wooden wall shelves are a great way to add organization and style to any space. With a simple DIY project, you can create shelves that not only serve as a storage solution but also serve as impactful decor elements. By personalizing your shelves with objects and elements that represent your taste, you transform a simple piece of wood into a functional piece full of personality. So get to work and create your own wooden wall shelves for stylish organization.