Wood Crafts: How to Make Rustic Pictures with Repurposed Boards
Wooden crafts are an incredible way to express creativity, produce unique pieces and also contribute to sustainability by reusing materials. Among the diverse possibilities in this universe, creating rustic paintings with reused boards stands out as a rewarding activity full of possibilities. In this article, we’ll explore step-by-step how you can create beautiful rustic paintings by transforming old boards into stunning works of art.
Table of Contents
Why choose wood crafts?
There are several reasons why someone might choose wood crafts as a form of creative expression or as a hobby. Here are some of the most common reasons:
- Creativity and Personal Expression: Working with wood allows people to express their creativity in many ways. You can create a wide variety of objects, from sculptures and furniture to decorative items and household items, putting your own stamp and personal style on each piece.
- Personal Satisfaction: Working with wood offers a sense of personal accomplishment when you transform a raw piece of wood into something beautiful and functional. Seeing the end result of your work can be incredibly rewarding.
- Connection to Nature: Many wood craftsmen appreciate the connection to nature that this activity provides. Wood is a natural material and working with it allows people to connect with the elements of the earth in a unique way.
- Skill Development: Wood crafts require the development of several skills, including cutting, sanding, carving, and finishing. These skills can be honed over time, providing a sense of progress and continuous improvement.
- Therapy and Stress Relief: Working with wood can be therapeutic for many people. The concentration it takes to create a piece can help relieve stress and provide a relaxing break from your busy life.
- Personalized Gifts: The ability to create personalized wooden gifts is a huge advantage. You can make unique and meaningful gifts for friends and family, which can strengthen relationships and make special occasions even more memorable.
- Sustainability: As awareness about sustainability grows, many people choose wood crafts because wood is a renewable resource. By choosing wood from responsible sources, you can contribute to preserving forests and reducing waste.
- Business Opportunities: In addition to being a hobby, wood crafts can become a source of income. Many artisans sell their creations at fairs, online markets or even open their own stores. This can become a profitable small business for those with skills and creativity.
Overall, wood crafts offer a unique way to engage creatively, develop practical skills, and find personal satisfaction. It is a popular choice for people of all ages who enjoy crafts and the natural beauty of wood.
Step by step: How to make rustic paintings with repurposed boards
Necessary materials:
- Repurposed wooden planks
- Saw or hacksaw
- Sandpaper
- Paint (optional)
- Brush (if you choose to paint)
- Hammer and nails
- Hook for hanging
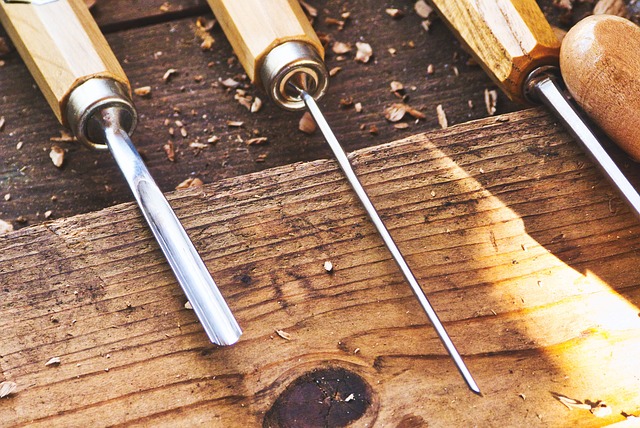
Step 1: Choosing the boards
Start by looking for repurposed wooden boards. Old pallets, disassembled furniture or leftovers from previous projects are excellent sources. Make sure the boards are clean and free of protruding nails. Remember, the goal is to create a rustic board, so don’t worry if the boards have some imperfections.
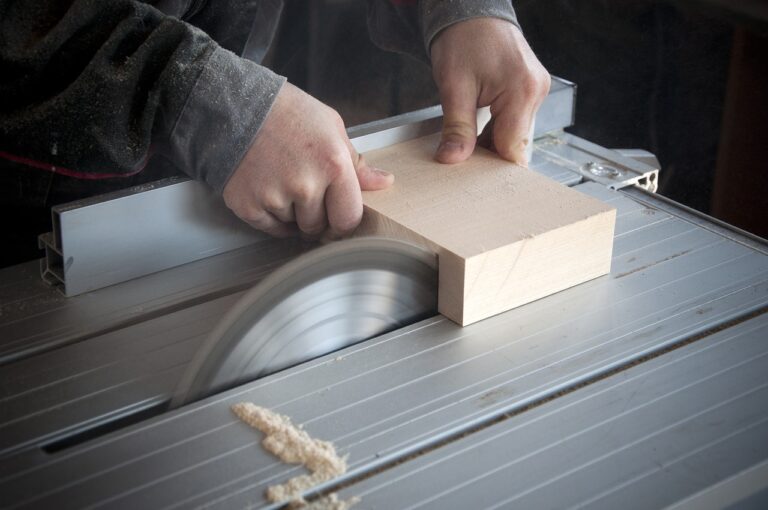
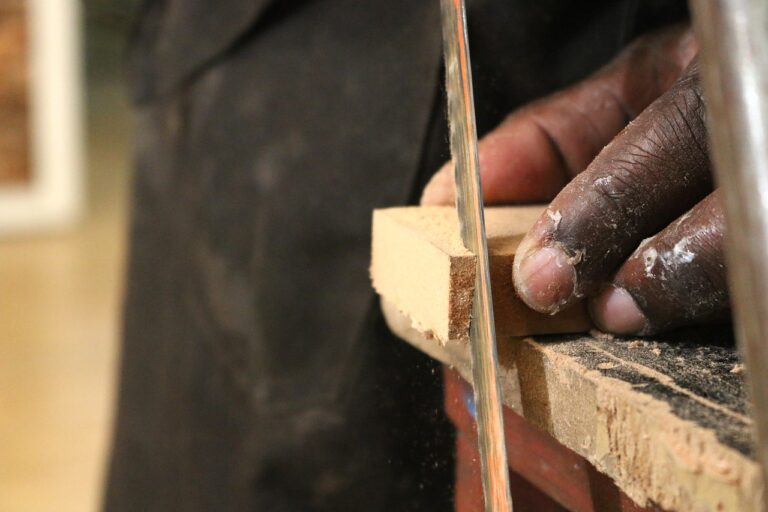
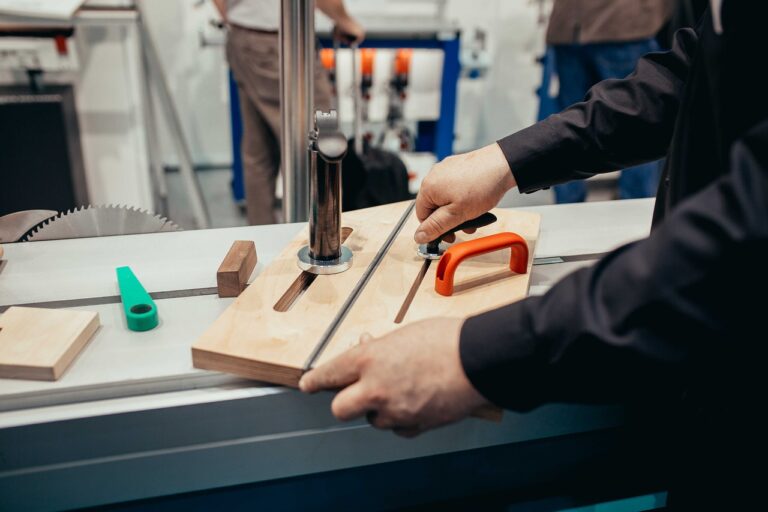
Step 2: Cutting and preparation
With the boards selected, it’s time to cut them to the desired size for the frame. Use a hacksaw or hacksaw to make the cuts accurately. Remember to measure twice before cutting to avoid mistakes. After cutting, use sandpaper to smooth the edges and surface of the boards, ensuring there are no scratches or splinters.
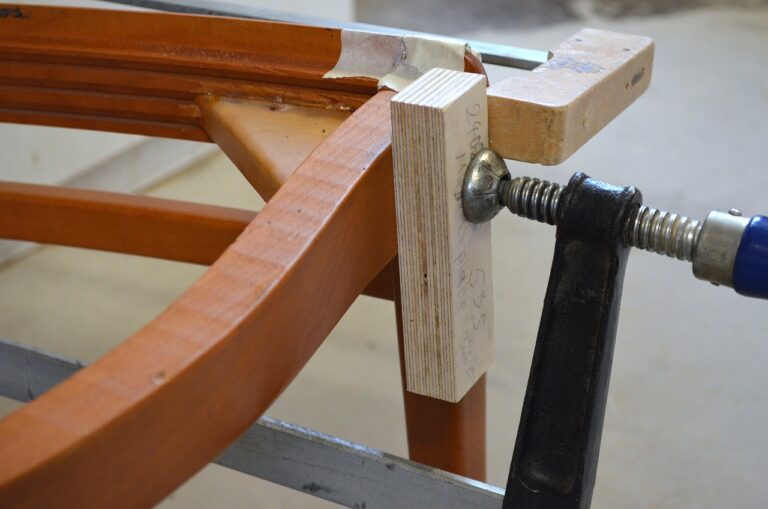
Step 3: Assembly
Lay the boards out on a flat surface, with the most even side facing down. Use small wooden slats on the back of the boards to secure them together, forming the base of the frame. Use the hammer and nails to ensure that the boards are securely attached.
Step 4: Painting (optional)
If you want to add a touch of color to your rustic painting, now is the time. Choose a paint that complements the rustic style and apply it with a brush, remembering to leave some areas of the wood exposed to maintain the natural charm.
To paint wood, you must choose the appropriate paint for the type of project and the wood surface you are working on. There are several paint options available, each with its own characteristics and ideal applications. Here are some of the most common paints used to paint wood:
- Latex or Acrylic Paint: Water-based paints, like latex or acrylic paints, are great for interior wood projects like furniture, doors, and moldings. They dry quickly, are easy to clean with water and have low odor.
- Synthetic Nail Polish: Oil-based nail polishes or synthetic nail polishes are known for their durability and scratch resistance. They are ideal for wooden surfaces that will be subjected to wear and tear, such as external doors and handrails.
- Acrylic Enamel: Acrylic enamels combine the durability of oil-based enamels with the ease of cleaning of water-based paints. They are a good choice for furniture that needs additional protection.
- Spray Paint: Spray paints are convenient for small projects, such as decorative objects or furniture details. They offer an even application and can be used on a variety of surfaces, including wood.
- Exterior Wood Paint: If you are painting weather-exposed wood surfaces, such as decks or fences, it is important to choose a paint or sealant designed specifically for outdoor use. These products offer additional protection from the elements.
- Craft Paint: Acrylic or craft paints are suitable for smaller projects and decorative wood accents. They come in a variety of colors and finishes, such as matte, glossy, and metallic.
- Oil Paint: Oil paints can be used on wood projects, but they have a longer drying time and can require solvents for cleaning, making them less popular than water-based options.
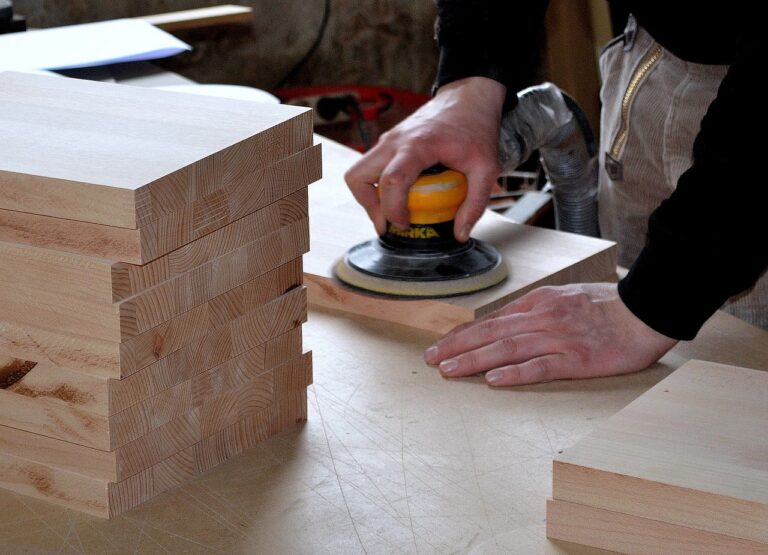
Before applying paint, it is important to prepare the wooden surface properly. This usually involves sanding the wood to smooth the surface and remove imperfections, as well as applying a suitable primer to improve paint adhesion and ensure a uniform result.
Be sure to follow the manufacturer’s instructions for your chosen paint, as application techniques and drying times may vary. Once the project is complete, you may consider applying a sealer or varnish to protect and finish the painted surface, depending on the needs of the project.
Step 5: Finishing
After painting (or if you prefer to keep the wood natural), apply a layer of varnish to protect the surface and enhance the beauty of the wood. Make sure you choose a stain that is suitable for wood.
Step 6: Fixing and hanging
Attach a hook to the back of your rustic frame to hang it. Make sure the hook is secure enough to support the weight of the piece. Now, your rustic painting is ready to be displayed in any environment.
Tip: How to Fix a Picture on the Wall?
Fixing a picture to the wall is a relatively simple task, as long as you follow the correct steps and use the appropriate tools. Here is a step-by-step guide on how to do this:
Required materials and tools:
- Picture or object to be hung.
- Hook or wall bracket appropriate to the weight of the painting.
- Hammer.
- Level.
- Tape measure or ruler.
- Pencil or pen.
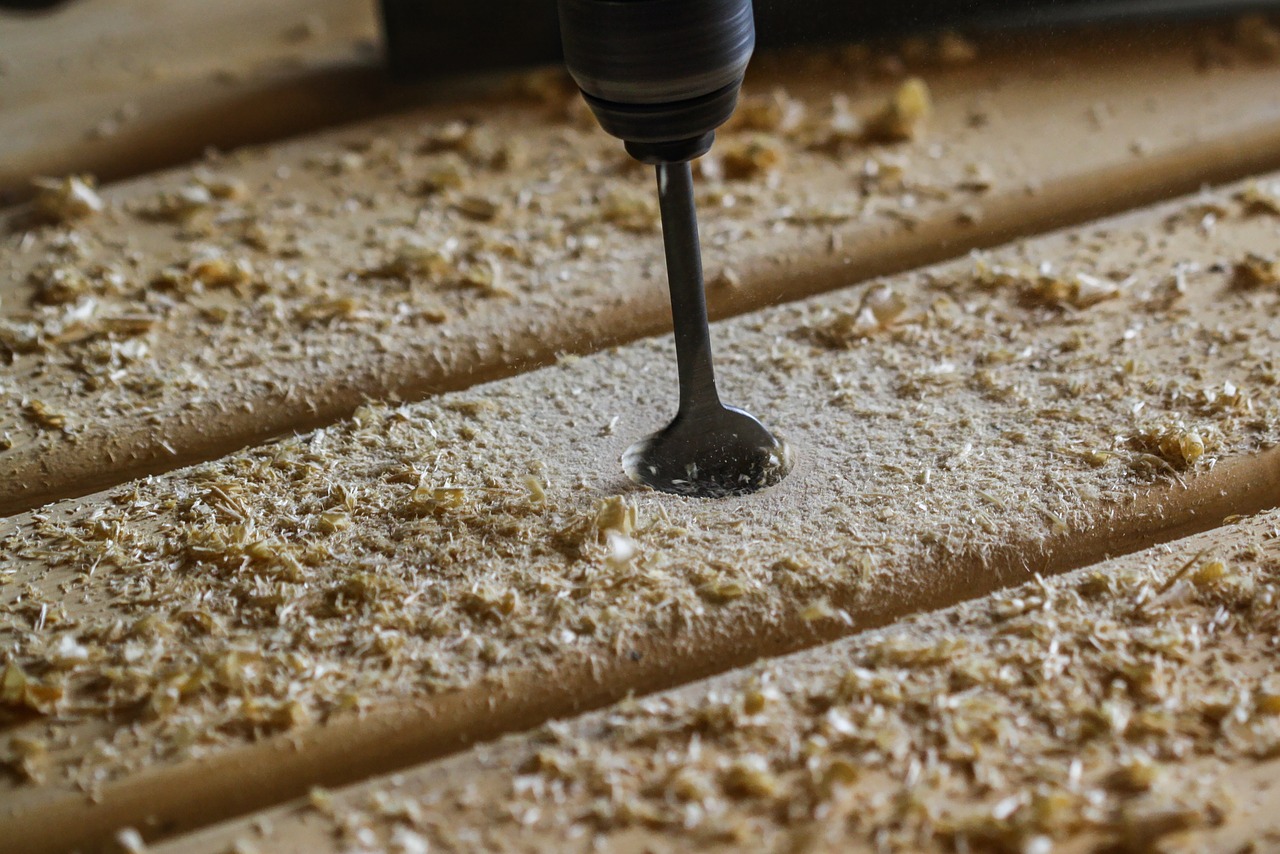
- Drill and drill bit of appropriate size for the wall bracket (if necessary).
- Screw (if necessary).
Step by step:
- Choose location: Decide where you want to hang the painting. Use a pencil or pen to mark a spot on the wall in that position.
- Determine the height: Decide the desired height of the frame. A common height for hanging pictures is eye level, which is usually about 1.60 to 1.70 meters from the floor. Mark this height on the mark you made on the wall.
- Find the center: If the frame has a wire or hook on the back, measure the distance from the top of the frame to the point where the wire or hook will rest when hung. Mark this distance from the center point you determined in the previous step.
- Install the hook or bracket: Use a hook or wall bracket appropriate for the weight of the picture. Follow the manufacturer’s instructions to install it in the mark you made on the wall. This may involve using screws, wall anchors, and a drill, depending on the type of wall.
- Check the level: Use a level to ensure the hook or bracket is level. This is important so that the picture hangs correctly.
- Hang the picture: With the hook or bracket in place, hang the picture in the appropriate location using the wire or hook on the back of the picture. Make sure the frame is level and at the desired height.
- Adjust as needed: If the frame is not level or at the correct height, make any necessary adjustments until it looks the way you want.
- Finish: Once the frame is hanging correctly, step back and make sure it’s positioned how you want it. Now you can enjoy your wall art!
Remember that choosing the right hook or support is essential to ensure that the painting stays securely on the wall. If you are hanging a very heavy picture, you may need to use wall brackets anchored with anchors and screws for added stability. Always follow the manufacturer’s instructions and take the weight of the frame into account when choosing the appropriate materials.
Additional Tips:
- Exploring patterns: Try creating different patterns using boards of different lengths. This can add an interesting and unique look to your frames.
- Incorporating elements: In addition to the boards, consider adding elements such as small branches, pieces of rope or other natural materials to give your painting even more authenticity.
- Variety of Sizes: Create rustic frames in different sizes to create an attractive composition when displayed together.
- Gift with style: Handcrafted rustic paintings make memorable and meaningful gifts. Personalize each piece according to the gift recipient’s taste.
Conclusion
Wood crafts offer a captivating way to transform repurposed materials into stunning works of art. Creating rustic paintings with repurposed boards combines the natural aesthetics of wood with personal creativity, resulting in unique pieces full of character. By following the step by step and exploring the tips mentioned, you will be ready to create your own rustic paintings and add an authentic touch to your decor or the gifts you give.