The Beauty of the Natural: How to Varnish and Enhance the Texture of Wood
Wood is one of the most fascinating and versatile materials available for creating furniture, decorative objects and architectural structures. Its unique texture and warm tone bring a feeling of warmth and naturalness to any environment. However, to preserve and enhance its natural beauty, it is essential to apply appropriate varnishing techniques. In this article, we will explore how to varnish and enhance the texture of wood, revealing its aesthetic potential in a lasting way.
Table of Contents
The Importance of Varnishing Wood
Varnishing wood not only adds an aesthetic finish, but also plays a key role in protecting the material from harmful environmental elements such as moisture, UV rays and general wear and tear. Additionally, varnishing can enhance the natural texture and patterns of wood, transforming simple pieces into works of art.
What is the Difference Between Varnish and Wood Waterproofing?
Wood varnish and wood sealer are two types of products used to protect and improve the appearance of wood, but they have slightly different functions and characteristics:
- Varnish:
- Varnish is a transparent or semi-transparent coating applied to the surface of wood to enhance its natural appearance, providing shine and depth to the wood.
- It is primarily used to improve the aesthetics of wood, enhancing its color and texture while protecting it from wear and light damage.
- Varnish is not necessarily designed to protect wood against water or significant moisture. While it may offer some water resistance, it is not an effective waterproof barrier.
- Wood waterproofing:
- Wood waterproofing is a product specifically designed to protect wood against the harmful effects of moisture, water and weather.
- It creates a protective layer that repels water, preventing the wood from absorbing moisture, which can lead to warping, rotting and deterioration of the wood over time.
- Wood waterproofing can have a clear or pigmented appearance, but its main function is to provide protection against water.
In summary, the main difference between wood stain and waterproofing is in function: varnish is primarily used to improve the appearance of wood, while waterproofing is used to protect wood against water damage. Depending on the needs of the project, you can opt for one or the other, or even combine both for protection and aesthetics.
Is It Possible to Change the Color of Wood but Maintain the Natural Appearance?
Yes, it is possible to change the color of the wood while maintaining its natural appearance. There are several techniques and products available to achieve this goal. Here are some ways to do this:
- Stains or dyes: Stains or dyes are products that can be applied to wood to change its color but still allow the wood’s natural texture and grain to be visible. You can choose a stain that is close to the wood’s natural color or opt for a different color, depending on the look you want.
- Wood Oil: Wood oils, such as tung oil or linseed oil, can enhance the natural color of wood and provide a richer, deeper appearance. They are great for enhancing the beauty of wood without completely covering its natural features.
- Clear Sealers: Clear sealers are products that protect wood without adding significant color. They are useful when you want to maintain the natural look of the wood but still provide a layer of protection from the elements.
- Sanding: Sanding wood can remove the top layer of wood and reveal a new surface with a different natural color. This can be used to lighten or darken the wood, depending on your purpose.
- Clear varnishes: If you want to maintain the wood’s natural appearance while protecting it, you can apply a clear varnish. This will enhance the color and texture of the wood without adding color.
It is important to remember that the choice of method will depend on the type of wood you are working with, the desired result and the level of protection the wood needs. Always follow the product manufacturer’s instructions and test on an inconspicuous area before applying to the entire piece to ensure the result is what you want.
How Should Wood Maintenance Be Done?
Wood maintenance depends on use, exposure to the environment and the type of wood in question. Here are some general guidelines for maintaining wood in different contexts:
- Regular cleaning : Clean the wooden surface regularly to remove dust, dirt and debris. Use a soft cloth or soft-bristled brush. Avoid using abrasive products that could scratch the surface.
- Moisture protection : Moisture is one of the main threats to wood. Make sure the wood is protected from moisture, especially if it is exposed to the outdoors. Use waterproof covers, awnings or varnishes to prevent water penetration.
- Protective coatings : Use appropriate varnishes, sealers, oils or stains to protect the wood against the elements. The frequency of reapplication will depend on the type of product used and environmental conditions. Follow the manufacturer’s recommendations.
- Damage Repair : Periodically check the wood for cracks, chips or damage. Repair these problems immediately to prevent them from getting worse. Use wood filler, sandpaper, and matching paint or varnish to make repairs.
- Protection against insects and fungi : Wood can be affected by insects such as termites and fungi that cause rot. Use specific treatments or treated wood to prevent these problems. If there are infestations, take steps to eliminate them.
- UV Protection : If the wood is exposed to the sun, consider using products that contain UV protection to prevent the wood’s color from fading over time.
- Moving furniture : Avoid dragging heavy furniture directly over the wood, as this can cause scratches and damage. Use felt or other protectors under furniture legs.
- Periodic maintenance : Perform preventative maintenance regularly, especially on wooden surfaces that are subject to constant wear and tear, such as floors, furniture and decks. This will help extend the life of the wood and keep it in good condition.
- Proper storage : If you are storing wood for future use, do so in a dry location that is protected from moisture and extreme temperature fluctuations.
Keep in mind that wood maintenance can vary depending on the type of wood and intended use. Always consult the manufacturer’s recommendations for the specific products you are using and follow best practices for keeping the wood in good condition.
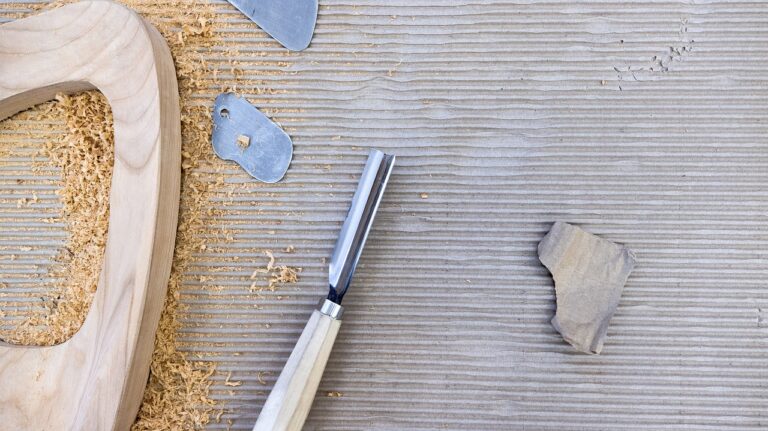
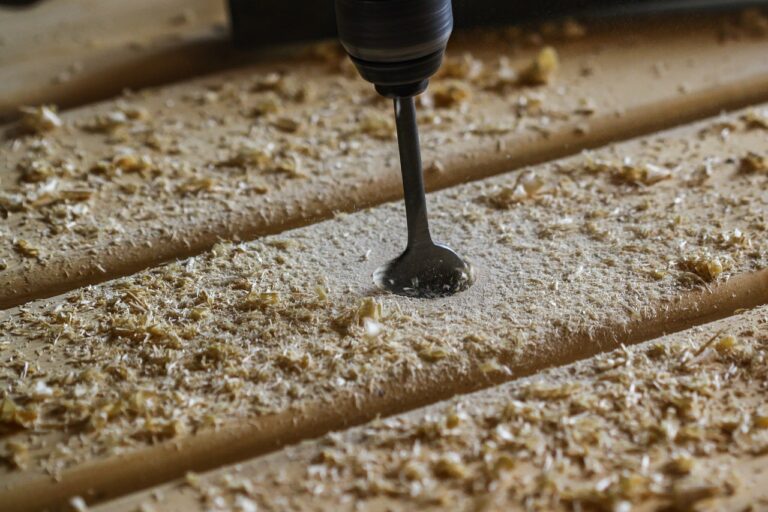
Step by Step: How to Varnish Wood
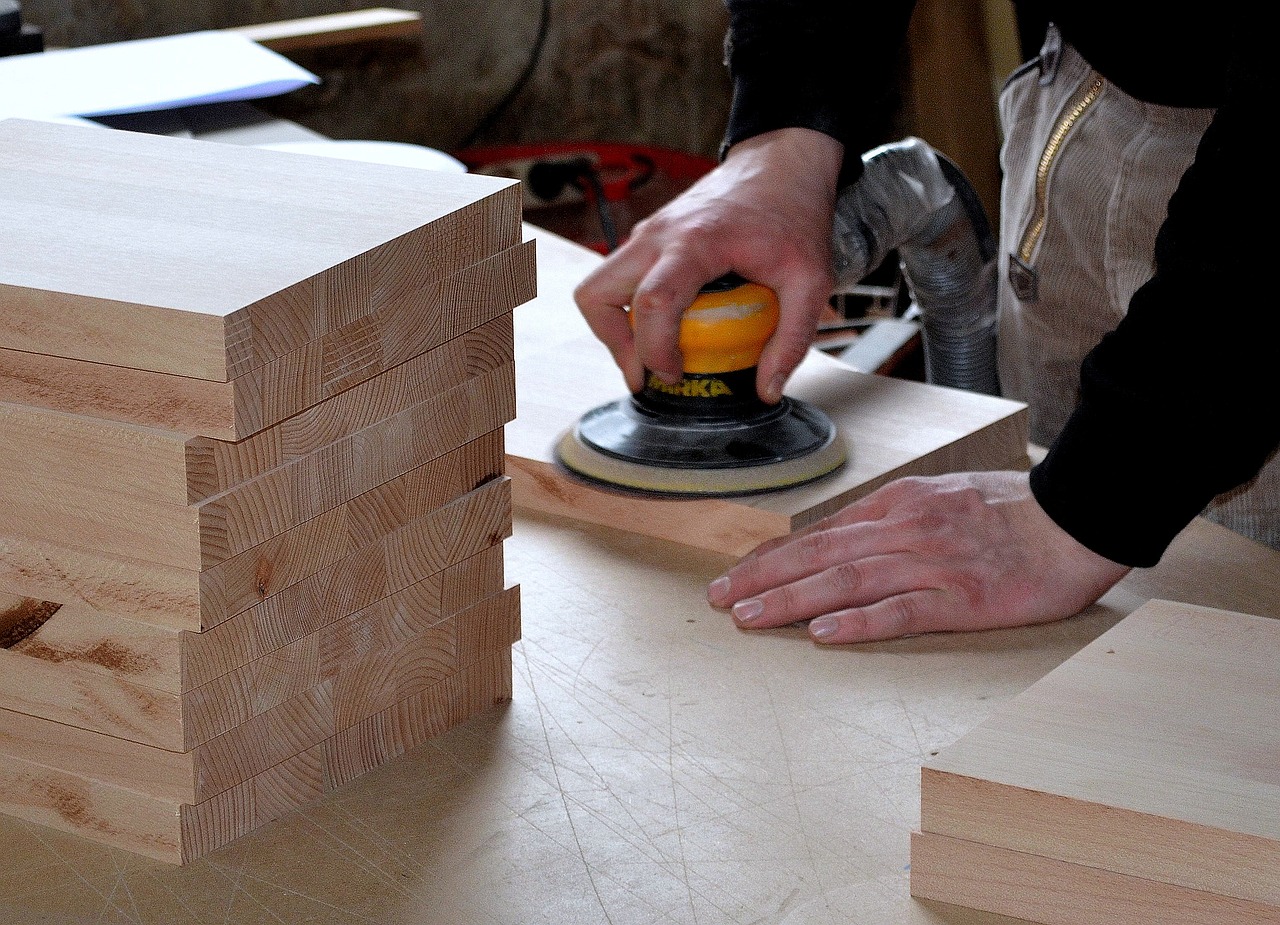
1. Surface Preparation
Before starting the varnishing process, it is essential to properly prepare the wood surface. This involves sanding the wood to remove imperfections, dirt and old finish residue. Sanding creates a uniform surface, allowing the stain to be applied evenly and adhere better to the wood.
2. Choice of Varnish
The choice of varnish is crucial to obtain the desired result. There are different types of varnishes available, including water-based varnishes and oil-based varnishes. Water-based varnishes tend to dry faster and emit fewer odors, while oil-based varnishes provide more robust protection. Consider the desired look and purpose of the piece when choosing the type of varnish.
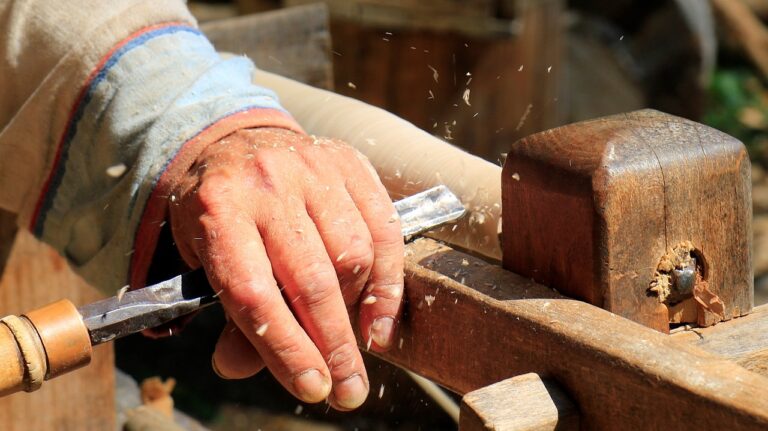
3. Varnish Application
Applying varnish requires care and attention to detail. Use a good quality, soft brush to apply the varnish in thin, even layers. Be sure to follow the direction of the wood grain to enhance its texture. Avoid applying too thick layers, as this can result in bubbles and runs.
4. Sanding Between Coats
To achieve a smooth, professional finish, it is recommended to gently sand the surface between coats of varnish. This helps to remove small imperfections and provide better adhesion for the next coat of varnish. Use fine sandpaper and be careful not to sand too deeply.
5. Finishing
After applying several layers of varnish and achieving the desired level of depth and shine, it is time to finish the process. Allow the item to dry completely in a clean, dust-free location. This may take a few days depending on the type of varnish and drying conditions. Once dry, the varnish will provide long-lasting protection and a stunning finish.
Additional Tips for Highlighting Wood Texture
In addition to appropriate varnishing, there are other techniques that can be used to further enhance the texture of the wood:
1. Stain or Transparent Paint
Using stains or clear paints can enhance the grain and texture of the wood, while still allowing its natural patterns to be visible. Choose a color that complements the overall aesthetic of the room.
2. Controlled Brushing or Wear
The brushing technique involves using a stiff-bristled brush to remove some of the softened material from the wood after the first coat of varnish has been applied and is still damp. This creates a slightly distressed texture that enhances the patterns in the wood.
3. Varnish with Differentiated Shine
For a more dramatic effect, try applying varnishes with different levels of gloss to different parts of the piece. For example, you can apply a matte varnish to the body of the piece and a glossy varnish to the sculpted details.
Conclusion
The natural beauty of wood is something that should be celebrated and preserved. Proper staining not only protects the wood but also enhances its intrinsic texture, patterns and colors. By following the careful steps of preparing and applying varnish, it is possible to create wooden pieces that are true works of art, standing out in any space.
Whether through the use of water or oil-based varnishes, the application of techniques such as brushing or the strategic use of stains and transparent paints, the secret to enhancing the texture of wood lies in the combination of technical knowledge and creativity. So the next time you want to add a touch of natural beauty to a room, consider exploring the wonders of wood staining.