DIY: Guide to Building a Wooden Rocking Chair
If you are a DIY project enthusiast and love adding a personal touch to your home decor, building a wooden rocking chair can be an exciting and rewarding endeavor. In addition to being a functional addition to your space, a DIY rocking chair provides a sense of achievement and the opportunity to create something completely unique. In this comprehensive guide, we’ll explore step-by-step how to build your own wooden rocking chair.
Table of Contents
Curiosities about Rocking Chair
Rocking chairs are pieces of furniture that have a long history and have many interesting facts associated with them. Here are some fun facts about rocking chairs:
- Ancient Origin: The rocking chair has ancient roots, with records of rocking chairs being used by kings and queens in Ancient Greece and Ancient Rome.
- Thomas Jefferson: The third president of the United States, Thomas Jefferson, is often associated with popularizing the rocking chair in the United States. He is known to have ordered several rocking chairs for his home in Monticello, Virginia.
- Varied Design: Rocking chairs come in a variety of designs, from traditional wooden chairs to modern chairs with metal and fabric frames. This diversity allows them to adapt to different decor styles.
- Relaxation and Comfort: Rocking chairs are known to provide exceptional relaxation and comfort. The gentle rocking motion can help relieve stress and promote calm.
- Therapeutic Use: In addition to relaxation, rocking chairs are also used therapeutically in settings such as daycare centers and hospitals to calm babies and patients.
- Popular Place to Read: Many people love to use rocking chairs as a comfortable place to read. The gentle tilt and rocking motion provide a pleasant atmosphere for reading.
- Rocking Chairs in Cinema: Rocking chairs have been featured in many films and TV shows, often associated with scenes of relaxation or contemplation.
- Swing Competitions: Some places hold swing competitions, where people compete to see who can swing the longest. These competitions can be fun events in local communities.
- Varieties Around the World: The rocking chair has its versions in different parts of the world. For example, the “silla de mimbre” is a traditional rocking chair from Spain, made of wicker.
- Famous Rocking Chairs: Some rocking chairs have become iconic, such as the Eames rocking chair, designed by Charles and Ray Eames, which is a notable example of modern design.
- Handmade Rocking Chairs: Many rocking chairs are handmade by talented artisans, giving each piece a unique and special touch.
- Lunar Rocking Chair: In 2011, Dutch designer Constantijn Smit created the “Lunar Lounger”, a rocking chair that appears to float in the air, giving the sensation of floating on the moon.
Rocking chairs have a rich history and continue to be appreciated for their functionality and aesthetics around the world. They provide comfort, relaxation and a touch of nostalgia in many homes and public spaces.
Preparation and Planning
Before starting the project, it is essential to do adequate planning. Make sure you have enough space in your work area and have all the necessary tools and materials on hand. A basic materials list will include:
- Wooden planks (high-quality wood such as oak or mahogany is recommended)
- miter saw
- Saw
- Sandpaper (various grams for different finishing stages)
- Screws and nails
- Wood glue
- Measuring tape
- Ruler and pencil
Required Tools:
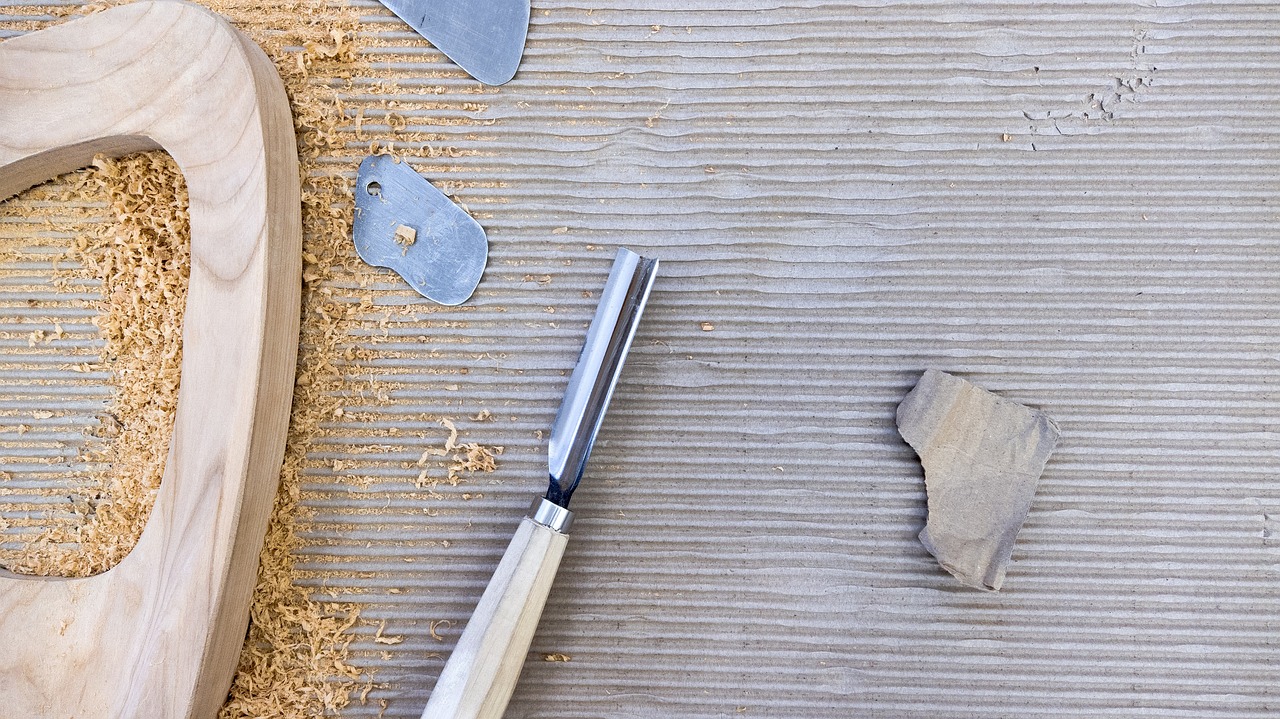
Building a rocking chair is a woodworking project that requires specific skills and tools. Here is a list of common tools needed to build a rocking chair:
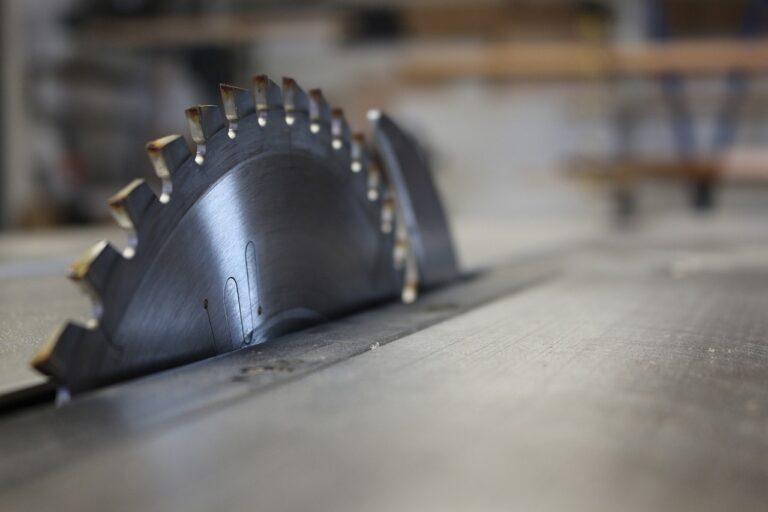
- Circular Saw: A circular saw is used to cut the wooden pieces to the desired size. It is essential for cutting boards and plywood.
- Jigsaw: The jigsaw is a useful tool for more detailed cuts, such as curves and decorative cuts.
- Miter Saw: A miter saw is useful for cutting precise angles in wood pieces, such as those that may be needed in chair legs.
- Electric Planer: The electric planer is used to smooth and level the wood, ensuring that the pieces fit together correctly.
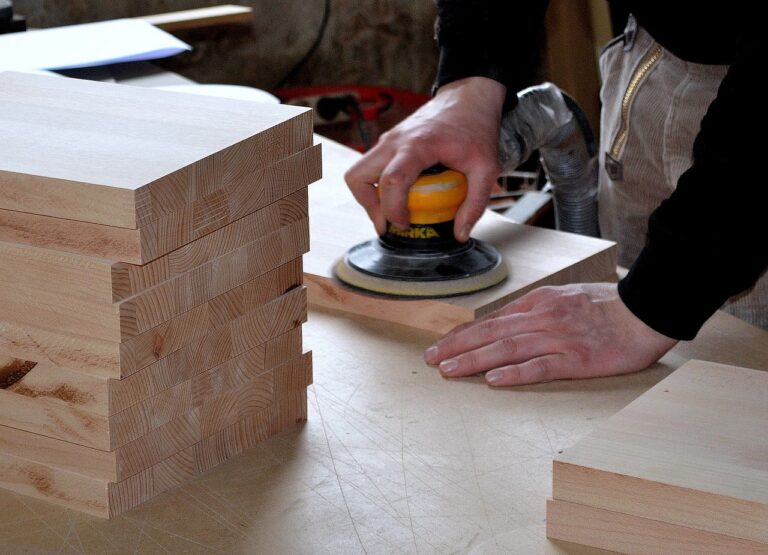
- Sander: An electric or hand sander is necessary to smooth the edges and surfaces of wood, making them safe and comfortable.
- Drill: An electric drill is used to drill precise holes, which may be necessary for fastening parts together with screws or for installing swing brackets.
- Drill Bits: A set of wood drill bits is needed to drill holes of different sizes depending on the project.
- Screwdriver or Screwdriver: An electric screwdriver or screwdriver is essential for tightening screws efficiently and safely.
- Clamps and Sergeants: Clamps and sergeants are used to hold the wooden pieces in place while the glue dries. They guarantee a firm and precise joint.
- Docking Jigs: Docking jigs can be used to create precise joints in wooden pieces, ensuring they fit together perfectly.
- Ruler, Square and Level: These tools are used to measure, mark angles and check levelness, ensuring that the rocking chair is built accurately.
- Hot Glue Gun: A hot glue gun can be useful for temporarily attaching parts during assembly before using screws or nails.
- Protective Equipment: Don’t forget personal protective equipment such as safety glasses, ear protection, and dust mask to ensure safety during construction.
- Materials and Supplies: In addition to tools, you will also need materials such as wood, screws, glue, paint or varnish (for finishing), cushions (if desired), and the appropriate swing stands.
Remember that building a rocking chair is an advanced woodworking project that requires proper skills and knowledge. If you don’t have woodworking experience, it may help to seek guidance from someone with more experience or consider purchasing a pre-made rocking chair kit, which includes all the necessary parts and assembly instructions.
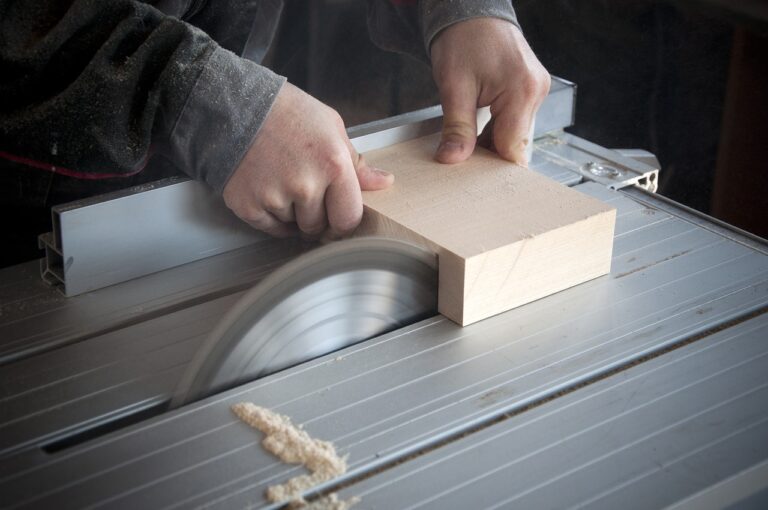
Step 1: Cutting the Pieces
The first step is to cut the pieces needed for the rocking chair frame. Using the miter saw and following precise measurements, cut the pieces for the chair’s arms, legs, seat and back. Make sure all cuts are accurate and edges are clean.
Step 2: Seat Assembly
Start by assembling the chair seat. Position the side pieces (legs) vertically and fix the horizontal pieces (seat) between them. Use wood glue and screws to ensure a tight bond. Make sure the seat is level and securely fastened.
Step 3: Attach the Backrest
The next step is to attach the chair back. Position the backrest pieces between the top leg pieces and secure them with glue and screws. The angle of the backrest can vary depending on your preference, but a slightly inclined angle is recommended for greater comfort.
Step 4: Construction of the Arms
Now, it’s time to build the rocking chair arms. Cut the arm pieces to the desired size and attach them to the sides of the seat. Make sure the arms are level and properly aligned to ensure a smooth, even swing.
Step 5: Finishing
With the basic structure of the chair assembled, it’s time to pay attention to the finish. Use different grits of sandpaper to smooth out all rough edges and surfaces. This will not only ensure a smooth touch but also minimize the risk of wood splinters.
Step 6: Balance Test and Final Adjustments
Before considering the project complete, do a balance test. Rock the chair several times to ensure the structure is solid and the rocking motion is smooth. If there is any instability or squeaking, reinforce connections and adjust as necessary.
Step 7: Final Finish
After all adjustments, you can apply the final finish to your rocking chair. This may include paint, varnish or finishing oil to enhance the natural beauty of the wood. Be sure to apply the finish evenly and follow the product instructions.
Security Considerations
While building your own rocking chair can be exciting, it’s important to consider safety first. Make sure all connections are solid and that the chair can support the weight adequately. Also, check that there are no sharp or protruding edges that could pose a risk of injury.
Conclusion
Building a wooden rocking chair yourself is a rewarding way to add a personalized piece to your home. With proper planning, the right tools, and a little patience, you can create a functional and aesthetically pleasing piece of furniture. Remember to follow the steps carefully, paying attention to details at each step of the process. Once completed, your wooden rocking chair will be a stunning addition to your space, ready to provide moments of relaxation and comfort.